Hyundai Creta: Interior Trim / Door Scuff Trim
Components and components location
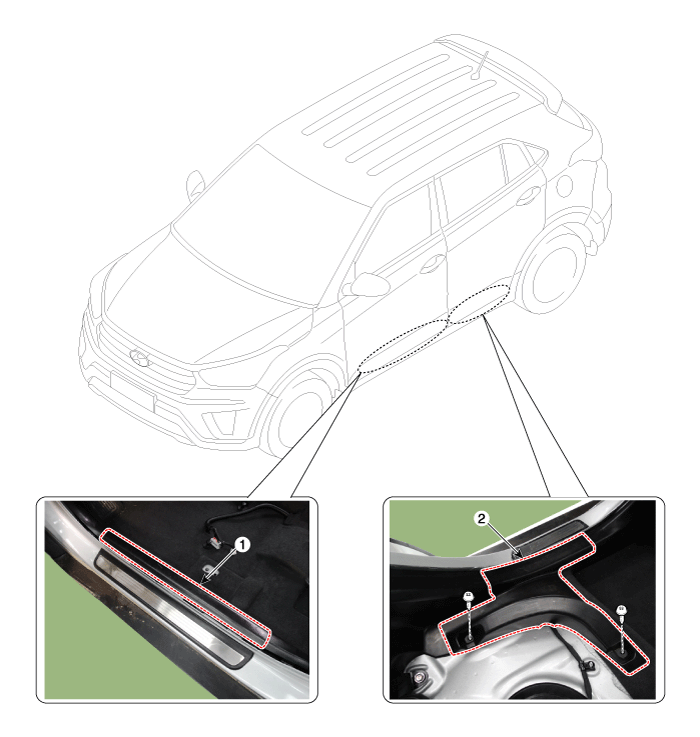
1. Front door scuff trim
|
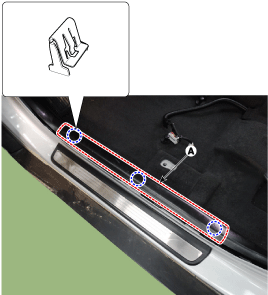
2. Rear door scuff trim
|
Repair procedures
| • |
Put on gloves to protect your hands.
|
|
| • |
When prying with a flat-tip screwdriver or use a prying trim
tool, wrap it with protective tape, and apply protective tape
around the related parts, to prevent damage.
|
| • |
Use a plastic panel removal tool to remove interior trim pieces
to protect from marring the surface.
|
| • |
Take care not to bend or scratch the trim and panels.
|
|
| 1. |
Using a screwdriver or remover, remove the front door scuff tirm (A).
[Front]
|
| 2. |
Using a screwdriver or remover, remove the rear door scuff tirm (A).
[Rear]
|
| 3. |
To install, reverse the removal procedure.
| •
|
Replace any damaged clips.
|
|
|
Components
1. Front pillar trim
2. Cowl side trim
3. Front door scuff trim
4. Center pillar lower trim
5. Center pillar upper trim
6. Rear door scuff t ...
Components and components location
Component Location
1. Cowl side trim
Repair procedures
Replacement
...
Other information:
Hyundai Creta GS 2014-2026 Owners Manual: Cup holder
Cups or small beverage cans may be
placed in the cup holders.
WARNING
Avoid abrupt starting and braking
when the cup holder is in use
to prevent spilling your drink. If
hot liquid spills, you could be
burned. Such a burn to the driver
could cause loss of vehicle
control re ...
Hyundai Creta GS 2014-2026 Service Manual: General information
Lift And Support Points
When heavy rear components such as suspension, fuel tank, spare tire,
tailgate and trunk lid are to be removed, place additional weight in
the luggage area before hoisting. When ...


 Components and components location
 Cowl Side Trim