Hyundai Creta: Body Side Molding / A Pillar Garnish: Repair procedures
Hyundai Creta GS 2014-2019 Service Manual / Body (Interior and Exterior) / Body Side Molding / A Pillar Garnish: Repair procedures
| Replacement |
|

|

| 1. |
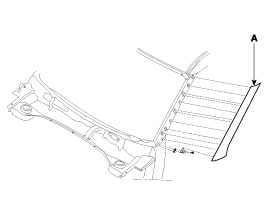
Using a screwdriver or remover, remove the delta garnish (A).
|
| 2. |
To install, reverse the removal procedure.
|

 Roof Side Molding: Repair procedures
Replacement
•
Put on gloves to protect your hands.
...
 Fender Garnish: Repair procedures
Replacement
•
Put on gloves to protect your hands.
...
Other information:
Hyundai Creta GS 2014-2019 Service Manual: Shift Lever
Components and components location
Components Location
1. Shift lever knob & boots
2. Shift lever assembly
3. Shift cable
4. Manual control lever
5. Shift cable retainer
Components
1. Shift lever & boots a ...
Hyundai Creta GS 2014-2019 Service Manual: Rear Wheel Guard: Repair procedures
Replacement
•
Put on gloves to protect your hands.
•
When ...
© 2017-2026 www.hcrmangs.com
