Hyundai Creta: Audio / Antenna
Components and components location
| Components |
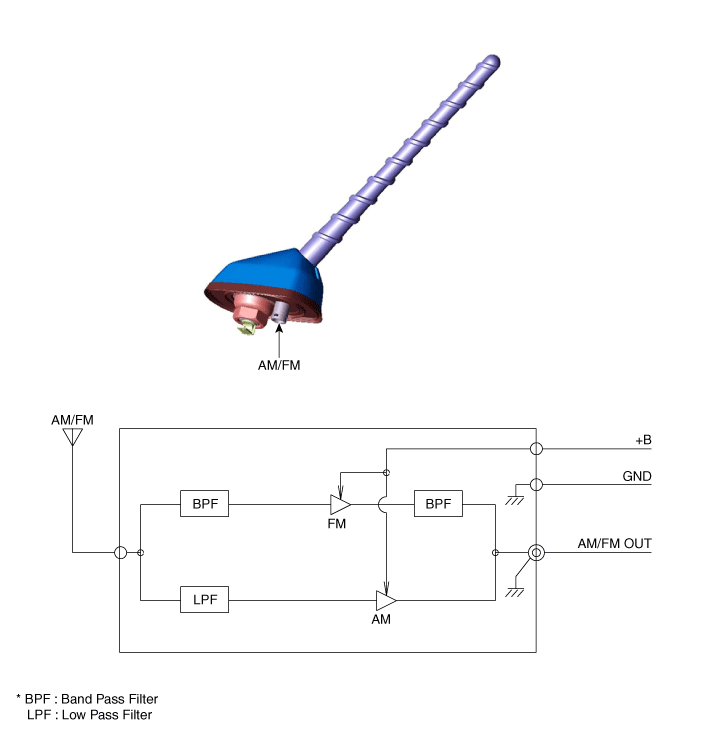
| [Roof Antenna (AM/FM) for Audio head unit] |
Repair procedures
| Inspection |
Antenna Cable
| 1. |
Remove the antenna jack from the audio unit and antenna.
|
| 2. |
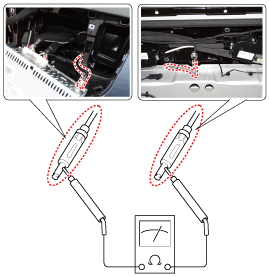
Check for continuity between the center poles of antenna cable.
|
| 3. |
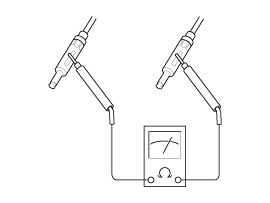
Check for continuity between the outer poles of antenna cable. There
should be continuity.
|
| 4. |
If there is no continuity, replace the antenna cable.
|
| 5. |
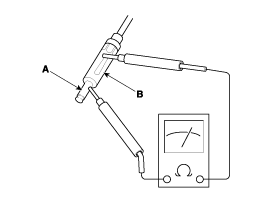
Check for continuity between the center pole (A) and outer pole (B)
of antenna cable. There should be no continuity.
|
| 6. |
If there is continuity, replace the antenna cable.
|
|
| Removal |
| 1. |
Remove the rear roof trim.
(Refer to Body - "Roof Trim Assembly")
|
| 2. |
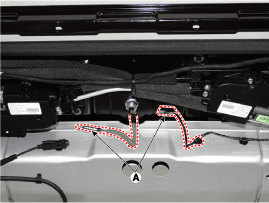
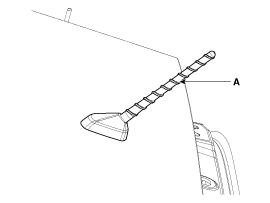
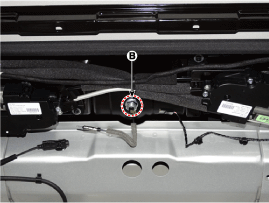
Disconnect the roof antenna connectors (A) from the roof antenna.
|
| 3. |
Remove the roof antenna (A) after removing a nut (B).
|
| Installation |
| 1. |
Connect the roof antenna connectors.
|
| 2. |
Install the rear roof trim.
|
 Speakers: Repair procedures
Inspection
1.
Troubleshooting for Speaker
(1)
Basic inspection of speaker
Inspect the sound from speaker after verifying tha ...
 Audio Remote Control
Components and components location
Components
1. Remote control switch (LH)
2. Remote control switch (RH)
Schematic diagrams
Circuit Diagram
...
Other information:
Hyundai Creta GS 2014-2026 Service Manual: CVVT & Camshaft
Components and components location
Components
1. Exhaust camshaft
2. Intake camshaft
3. Exhaust CVVT
4. Intake CVVT
5. Camshaft bearing cap
6. Camshaft front bearing cap
7. O-ring
8. OCV (Oil Control Valve) adapter
Description and op ...
Hyundai Creta GS 2014-2026 Service Manual: Intake Manifold
Components and components location
Components
1. Intake manifold
2. MAP semsor
3. Electronic throttle body
4. Intake manifold gasket
5. Electronic throttle body gasket
6. VIS actuator
Repair procedures
Removal and Installation
...
© 2017-2026 www.hcrmangs.com


