Hyundai Creta: Rear Bumper / Rear Bumper Cover
Hyundai Creta GS 2014-2024 Service Manual / Body (Interior and Exterior) / Rear Bumper / Rear Bumper Cover
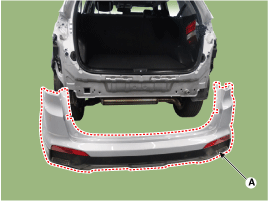
Components and components location
| Component Location |
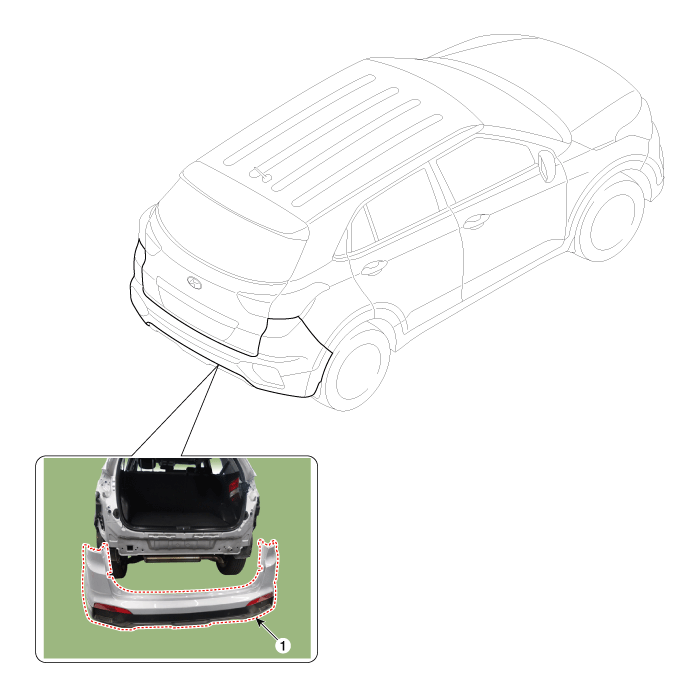
| 1. Rear bumper cover |
Repair procedures
| Replacement |
|

|

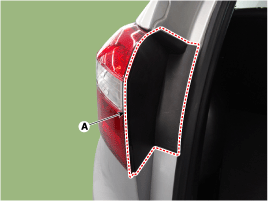
| 1. |
Using a screwdriver or remover, remove the rear combination lamp cover
(A).
|
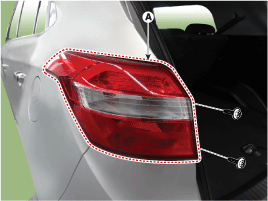
| 2. |
After loosening the mounting screws, then remove the rear combination
lamp (A).
|
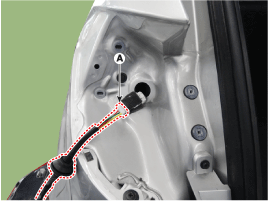
| 3. |
Disconnect the rear combination lamp connector (A).
|
| 4. |
Loosen the rear bumper lower mounting clips.
|

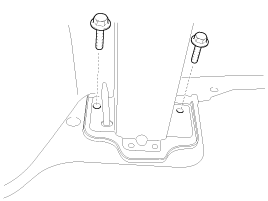
| 5. |
Loosen the mounting bolts.
|
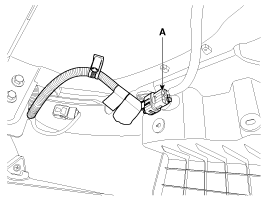
| 6. |
Disconnect the rear bumper main connector (A).
|
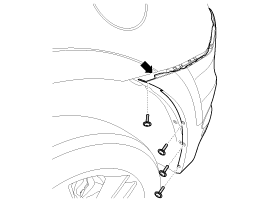
| 7. |
After loosening the rear bumper side's mounting screws, then disconnect
the side's.
|
| 8. |
Loosen the rear bumper upper mounting clip.
|
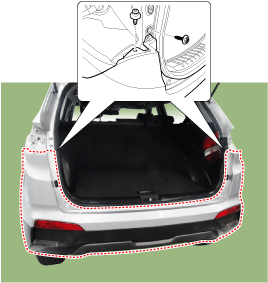
| 9. |
Remove the rear bumper cover (A).
|
| 10. |
To install, reverse the removal procedure.
|

 Components and components location
Components
1. Rear bumper cover
2. Rear bumper side bracket [LH]
3. Rear bumper side bracket [RH]
...
 Rear Bumper beam Assembly
Components and components location
Component Location
1. Rear bumper beam assembly
Repair procedures
Replacement
...
Other information:
Hyundai Creta GS 2014-2024 Service Manual: Rear Door Latch
Components and components location
Component Location
1. Rear door latch
Repair procedures
Replacement
1.
Remove the rear door trim.
(Refer to Rear Door - "Rear Door Trim")
2.
...
Hyundai Creta GS 2014-2024 Service Manual: Line Pressure Control Solenoid Valve
Description and operation
Description
•
Line pressure control solenoid valve is attached to the valve body.
•
This variable force solenoid valve indirectly controls the hydraulic
pressure inside the line pressure.
...
© 2017-2024 www.hcrmangs.com
