Hyundai Creta: Tail Gate / Tail Gate Latch
Components and components location
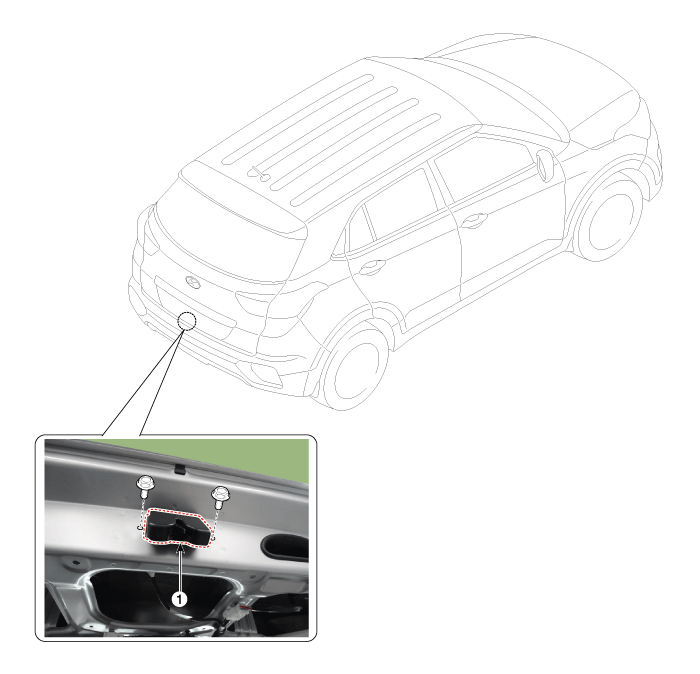
1. Tail gate latch assembly
|
Repair procedures
| • |
Put on gloves to protect your hands.
|
|
| • |
When prying with a flat-tip screwdriver or use a prying trim
tool, wrap it with protective tape, and apply protective tape
around the related parts, to prevent damage.
|
| • |
Take care not to scratch the body surface.
|
|
| 1. |
Remove the tail gate trim.
(Refer to Tail Gate - "Tail Gate Trim")
|
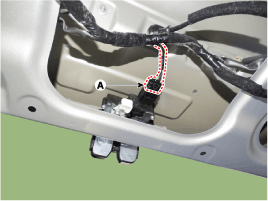
| 2. |
Disconnect the tail gate latch connector (A).
|
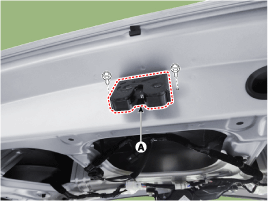
| 3. |
After loosening the mounting bolts, then remove the tail gate latch
assembly (A).
|
Tightening torque :
21.6 ~ 26.5 N.m (2.2 ~ 2.7 kgf.m, 15.9 ~ 19.5 lb-ft)
|
|
| 4. |
To install, reverse the removal procedure.
| •
|
Make sure the tail gate locks / unlocks and opens /
closes properly.
|
| •
|
Adjust the tail gate alignment.
|
| •
|
Make sure the connectors are connected in properly.
|
|
|
Components and components location
Component Location
1. Tail gate trim
Repair procedures
Replacement
...
Replacement
•
Take care to not let the tailgate fall on you as the lifts are
r ...



 Tail Gate Trim
 Tail Gate Lift: Repair procedures