
Hyundai Creta: Crash Pad / Cowl Cross Bar Assembly
Components and components location
| Component Location |
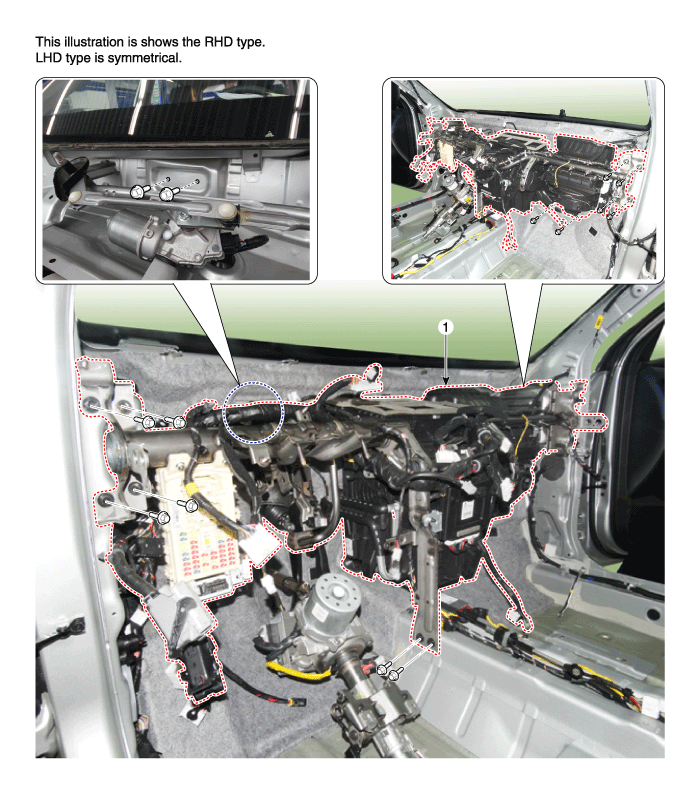
| 1. Cowl cross bar assembly |
Repair procedures
| Replacement |
|

|

| 1. |
Disconnect the negative (-) battery terminal.
|
| 2. |
Recover the refrigerant with a recovery/recycling/charging station.
|
| 3. |
When the engine is cool, drain the engine coolant from the radiator.
(Refer to Engine Mechanical System - “Coolant�)
|
| 4. |
Remove the cowl top cover.
(Refer to "Cowl Top Cover")
|
| 5. |
Disconnect the expansion valve from the evaporator core.
(Refer to Heating,Ventilation And Air Conditioning - "Heater Unit")
|
| 6. |
Disconnect the inlet and outlet heater hoses from the heater unit.
(Refer to Heating,Ventilation And Air Conditioning - "Heater Unit")
|
| 7. |
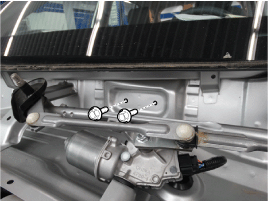
Loosen the cowl cross member mounting bolts.
|
| 8. |
Remove both sides of front seat assembly.
(Refer to Front Seat - "Front Seat Assembly")
|
| 9. |
Remove the main crash pad assembly.
(Refer to Crash Pad - "Main Crash Pad Assembly")
|
| 10. |
Disconnect the steering column connectors.
(Refer to Steering System - "Steering Column and Shaft")
|
| 11. |
Down the steering column after loosening the mounting bolts.
(Refer to Steering System - "Steering Column and Shaft")
|
| 12. |
Remove the shift lever assembly.
(Refer to Automatic Transaxle System - "Shift lever")
|
| 13. |
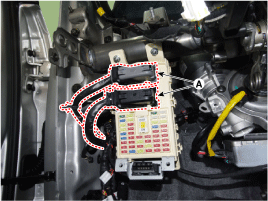
Disconnect the passenger compartment junction box connectors (A).
|
| 14. |
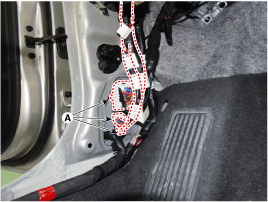
Disconnect the multi box connectors (A).
[Driver's]
[Passenger's]
|
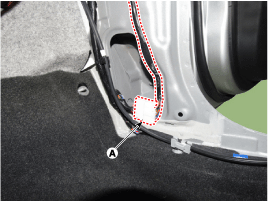
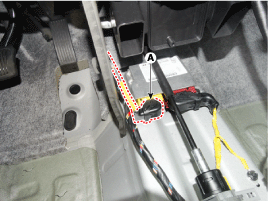
| 15. |
Disconnect the airbag control module (SRSCM) connector (A).
|
| 16. |
Disconnect the connector (A) and the mounting clips in the front pillar.
[Driver's]
[Passenger's]
|
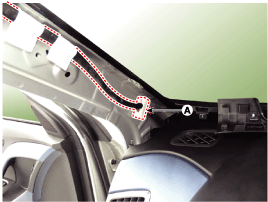
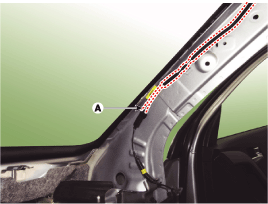
| 17. |
Separate the radiator assembly to obtain space for remove the air guard.
|
| 18. |
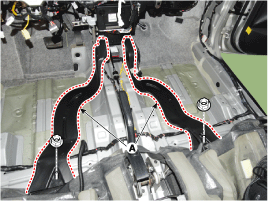
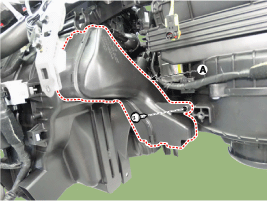
Remover the rear air duct (A) after detaching the nuts.
|
| 19. |
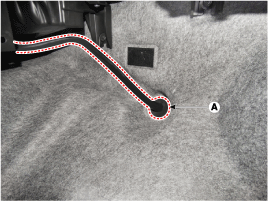
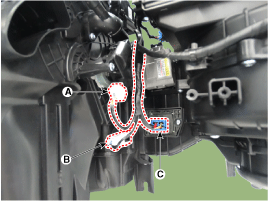
Remove the drain hose (A).
|
| 20. |
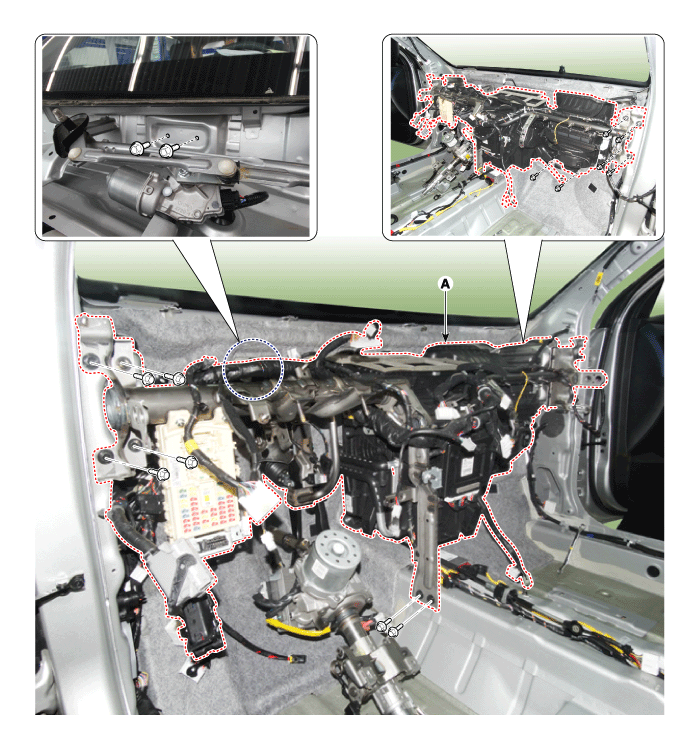
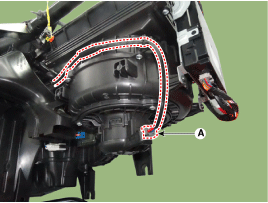
After loosening the nuts and bolts remove the cowl cross bar and heater
& blower unit (A) together.
|
| 21. |
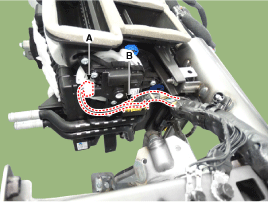
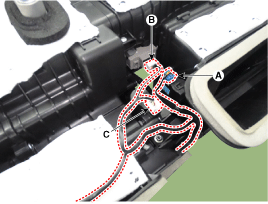
Disconnect the heater & blower unit connectors.
|
| 22. |
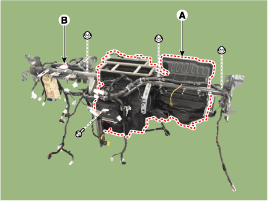
Remove the heater and blower unit (A) from the cowl cross bar (B) after
loosening the mounting nuts.
|
| 23. |
To install, reverse the removal procedure.
|
 Main Crash Pad Assembly
Components and components location
Component Location
1. Main crash pad assembly
Repair procedures
Replacement
...
 Roof Trim
...
Other information:
Hyundai Creta GS 2014-2019 Service Manual: Power Door Lock Switch: Repair procedures
Diagnosis with GDS
1.
The BCM can be diagnosed by using the GDS. The BCM communicates with
the GDS which then displays inputs and outputs along with codes.
It will be able to diagnose defects of power door lock/unlock with GDS
quickly. GDS can operat ...
Hyundai Creta GS 2014-2019 Service Manual: Rear Bumper Cover
Components and components location
Component Location
1. Rear bumper cover
Repair procedures
Replacement
•
Put on gloves to protect y ...
