Hyundai Creta: Hood / Hood Assembly
Components and components location
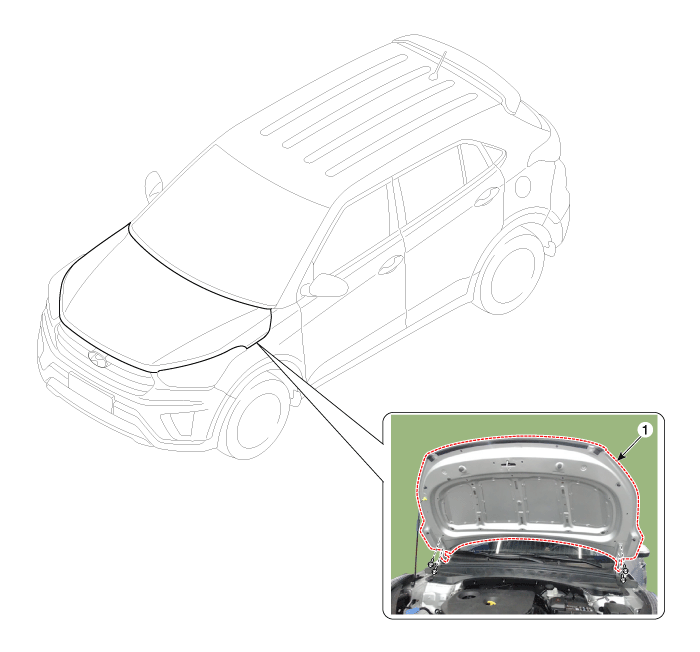
| Component Location |

| 1. Hood assembly |
Repair procedures
| Replacement |
|
|
| 1. |
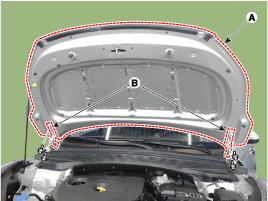
After loosening the hood hinge (B) mounting bolts, remove the hood assembly
(A).
|
| 2. |
To install, reverse the removal procedure.
|
 Repair procedures
Adjustment
1.
After loosening the hinge (A) mounting bolt, adjust the hood (B) by
moving it up or down, or right or left.
2.
Adjust th ...
 Hood Seal Weatherstrip: Repair procedures
Replacement
1.
Detach the clips, then remove the hood seal weatherstrip (A).
...
Other information:
Hyundai Creta GS 2014-2024 Service Manual: Rear Glass Defogger Printed Heater: Repair procedures
Inspection
•
Wrap tin foil around the end of the voltmeter test lead to prevent
damaging the heater line. Apply finger pressure on the tin foil,
moving the tin foil along ...
Hyundai Creta GS 2014-2024 Service Manual: Components and components location
Components Location
1. ECM (Engine Control Module)
2. Manifold Absolute Pressure Sensor (MAPS)
3. Intake Air Temperature Sensor (IATS)
4. Engine Coolant Temperature Sensor (ECTS)
5. Throttle Position Sensor (TPS) [integrated into ETC Module]
6. Cranksha ...


