
Hyundai Creta: Cooling System / Radiator
Components and components location
| Components |
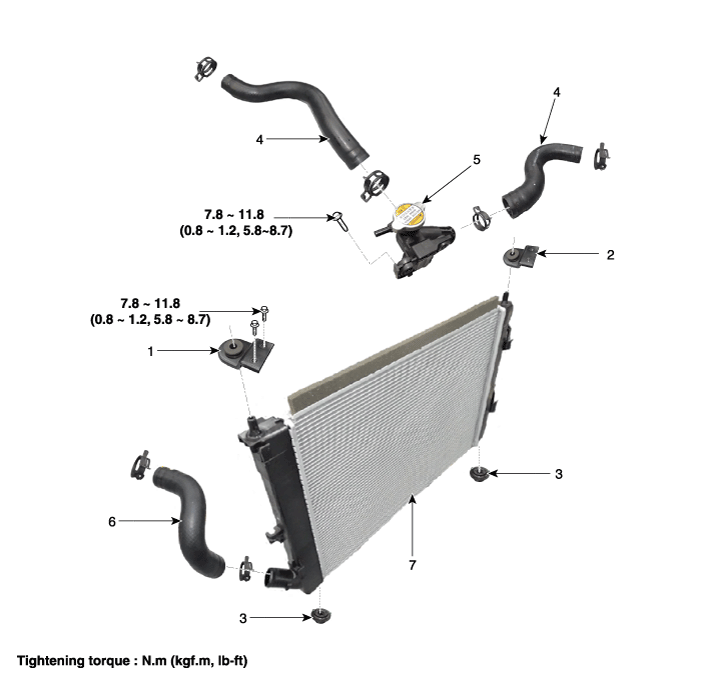
| 1.
Radiator upper bracket (RH) 2. Radiator upper bracket (LH) 3. Mounting insulator 4. Radiator upper hose |
5. Filler
neck 6. Radiator lower hose 7. Radiator |
Repair procedures
| Inspection |
Radiator Cap Testing
| 1. |
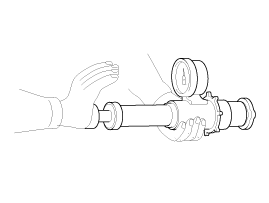
Remove the radiator cap, wet its seal with engine coolant, and then
install it on a pressure tester.
|
| 2. |
Apply a pressure of 93.16 ~ 122.58 kPa (0.95 ~ 1.25 kgf/cm², 13.51 ~
17.78 psi).
|
| 3. |
Check for a drop in pressure.
|
| 4. |
If the pressure drops, replace the cap.
|
Radiator Leakage Test
| 1. |
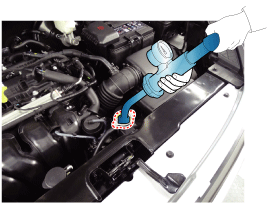
Wait until engine is cool, then carefully remove the radiator cap and
fill the radiator with engine coolant, then install it on the pressure
tester.
|
| 2. |
Apply a pressure tester to the radiator and apply a pressure of 93.16
~ 122.58kpa (0.95 ~ 1.25kg/cm², 13.51 ~ 17.78psi).
|
| 3. |
Inspect for engine coolant leaks and a drop in pressure.
|
| 4. |
Remove the tester and reinstall the radiator cap.
|

| Removal and Installation |
| 1. |
Remove the cooling fan.
(Refer to Cooling System - "Cooling Fan")
|
| 2. |
Remove the engine room under cover.
(Refer to Engine And Transaxle Assembly - “Engine Room Under Cover�)
|
| 3. |
Drain the coolant.
(Refer to Cooling System - "Coolant")
|
| 4. |
Remove the front bumper cover.
(Refer to Body - "Front Bumper")
|
| 5. |
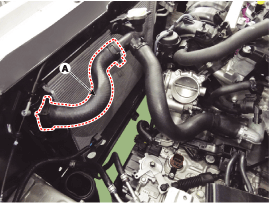
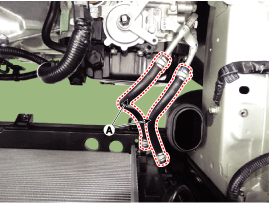
Disconnect the radiator upper hoses (A).
|
| 6. |
Disconnect the radiator lower hose (A).
|
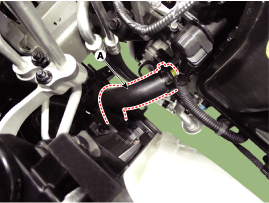
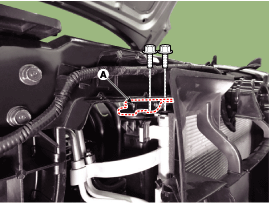
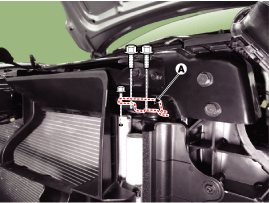
| 7. |
Remove the radiator upper mounting brackets(A).
|
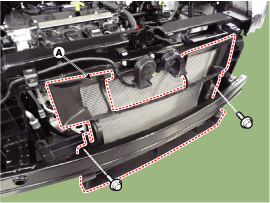
| 8. |
Remove the air guard(A).
|
| 9. |
Disconnect the automatic transaxle fluid (ATF) cooler hoses. (A/T only)
|
| 10. |
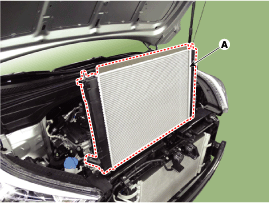
Pull the radiator (A) upward and remove it from condenser.
|
| 11. |
Install in the reverse order of removal.
|
| 12. |
Fill the radiator with coolant.
(Refer to Cooling System - "Coolant")
|
| 13. |
Start engine and check for leaks.
|
 Cooling Fan
Specifications
Specifications
Item
Specification
Fan type
Puller
Fan speed control
Resistor (HI-LOW-O ...
 Water Temperature Control Assembly
Components and components location
Components
1. Water temperature assembly
2. Engine coolant temperature sensor (ECTS)
3. Gasket
4. Water pipe
R ...
Other information:
Hyundai Creta GS 2014-2019 Owners Manual: Curtain air bag
The actual air bags in the vehicle may differ
from the illustration.
Curtain air bags are located along
both sides of the roof rails above the
front and rear doors.
They are designed to help protect
the heads of the front seat occupants
and the rear outboard seat occupants
in certain ...
Hyundai Creta GS 2014-2019 Service Manual: Drive Belt
Components and components location
Components
1. Drive Belt
Repair procedures
Removal and Installation
1.
Disconnect the battery negative terminal.
2.
Loosen the alternator mounting bolts (A) ...
© 2017-2026 www.hcrmangs.com
