Hyundai Creta: Floor Console / Floor Console Assembly
Hyundai Creta GS 2014-2019 Service Manual / Body (Interior and Exterior) / Floor Console / Floor Console Assembly
Components and components location
| Component Location |
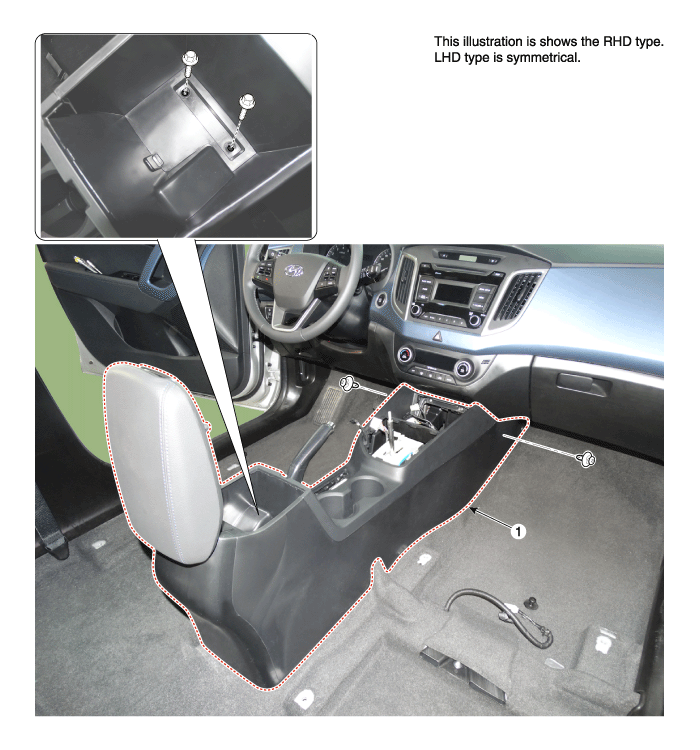
| 1. Floor console assembly |
Repair procedures
| Replacement |
[MT]
|

|

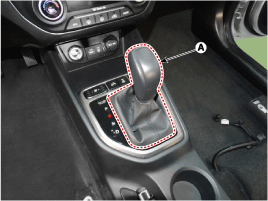
| 1. |
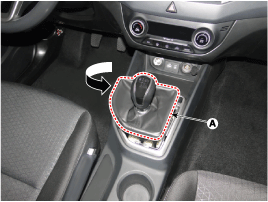
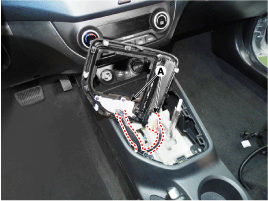
Remove the gear knob & boots (A) after turning in the counter clock-wise
direction.
|
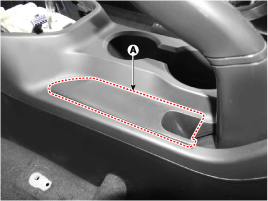
| 2. |
Using a screwdriver or remover, remove the front console upper cover
(A).
|

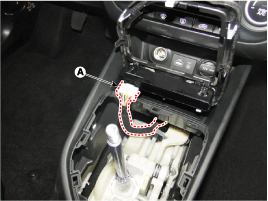
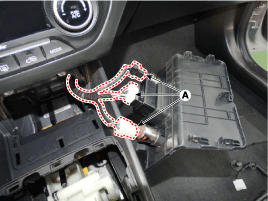
| 3. |
Disconnect the connectors (A).
|
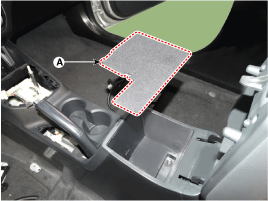
| 4. |
Remove the tray (B) by using remover holder hole after removing the
rubber mat (A).
|
| 5. |
Disconnect the multimedia jcak connectors (A).
|
| 6. |
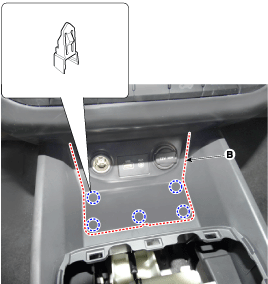
Using a screwdriver or remover, remove the parking brake cover (A).
|
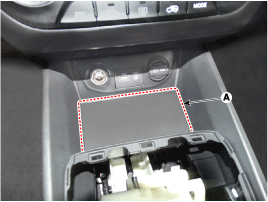
| 7. |
Remove the storage box pad (A).
|
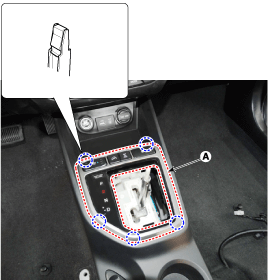
| 8. |
After loosening the mounting clips and bolts, then remove the floor
console assembly (A).
|
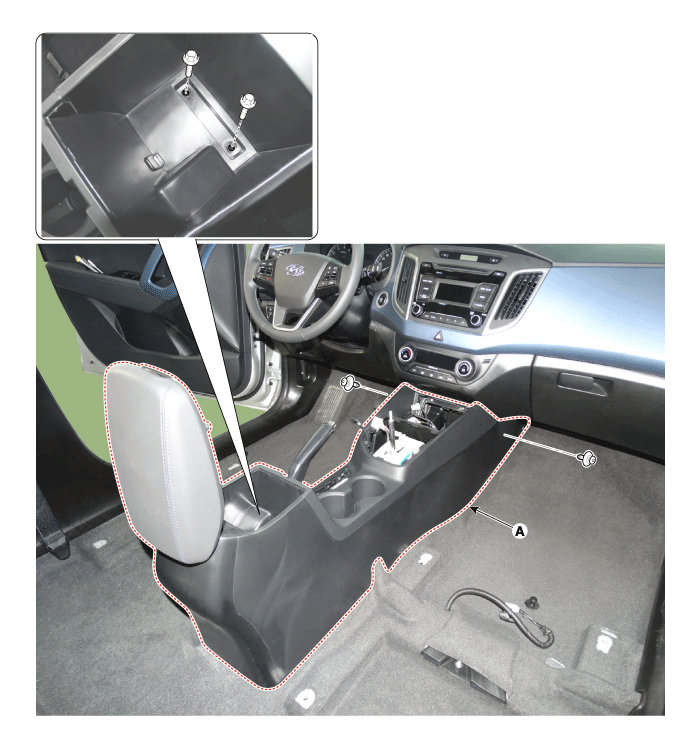
| 9. |
To install, reverse the removal procedure.
|

[AT]
|
|
| 1. |
Remove the gear knob & boots (A) pull both of it up.
|
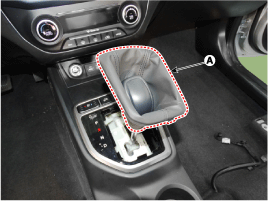
| 2. |
Using a screwdriver or remover, remove the front console upper cover
(A).
|
| 3. |
Disconnect the connectors (A).
|
| 4. |
Remove the tray (B) by using remover holder hole after removing the
rubber mat (A).
|
| 5. |
Disconnect the multimedia jcak connectors (A).
|
| 6. |
Using a screwdriver or remover, remove the parking brake cover (A).
|
| 7. |
Remove the storage box pad (A).
|
| 8. |
After loosening the mounting clips and bolts, then remove the floor
console assembly (A).
|
| 9. |
To install, reverse the removal procedure.
|
 Components and components location
Components
1. Parking brake cover
2. Console upper cover
3. Floor console front bezel
4. Ash tray
5. Floor console assembly
6. Console rear mounting br ...
 Rear Console Cover
Components and components location
Component Location
1. Rear console cover
Repair procedures
Replacement
& ...
Other information:
Hyundai Creta GS 2014-2019 Service Manual: Rear Washer Motor: Repair procedures
Inspection
Front and Rear Washer Motor
1.
With the washer motor connected to the reservoir tank, fill the reservoir
tank with water.
•
...
Hyundai Creta GS 2014-2019 Service Manual: Components and components location
Component Location
1. Head lamp leveling switch
2. Head lamp leveling actuator
...
© 2017-2026 www.hcrmangs.com
